목차
Automatic 설치
Automatic 설치 방법은 매우 간단합니다.
처음 시작은 아래 파일을 먼저 다운로드하시고 시작하시면 되겠습니다.
· 설치 방법
WEBUI 설치와 동일하게 먼저 파이썬과 git를 다운로드합니다.
그리고 엔비디아 GPU 사용자라면 아래에서 nVidia CUDA 툴킷을 다운로드합니다.
CUDA Toolkit 11.7 Downloads
Get the latest feature updates to NVIDIA's proprietary compute stack.
developer.nvidia.com
모든 파일이 준비되었다면, 이제 설치를 시작합니다.
다운로드한 Automatic 압축 파일 압축을 풀고
설치하려는 폴더에서 터미널을 열고
git clone https://github.com/vladmandic/automatic 입력합니다.
아래 그림 참조하시길 바랍니다.

설치할 폴더로 이동하여 오른쪽 마우스 클릭 터미널에서 열기 선택.

명령어
git clone https://github.com/vladmandic/automatic 입력하면
자동으로 설치됩니다.
그런 다음 automatic-master\automatic 폴더를
열어보면 webui.bat이라는 파일이 있습니다.
webui.bat 파일을 실행합니다.

파일을 실행하게 되면 설치가 진행됩니다.
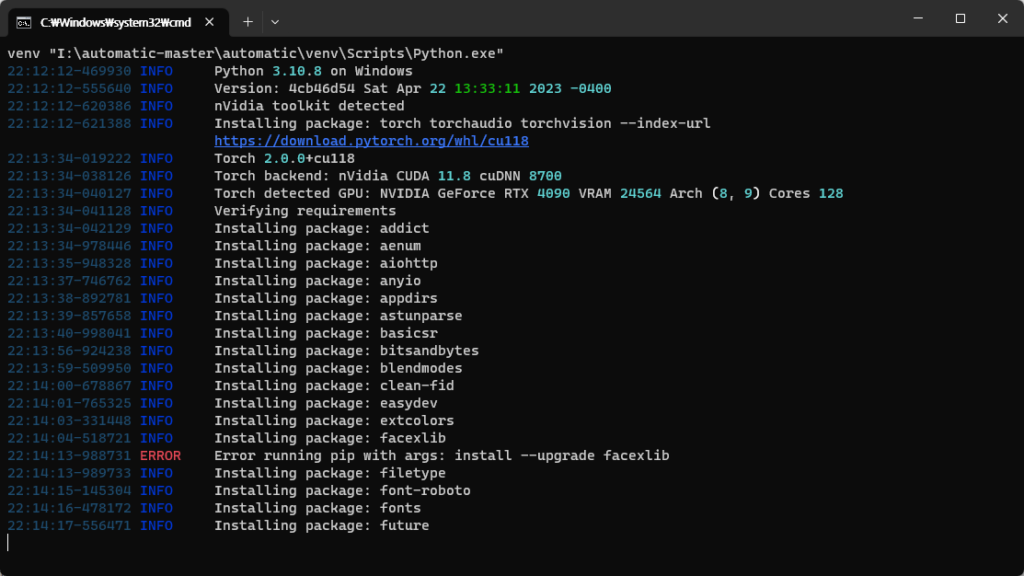
설치가 진행되고 있습니다.
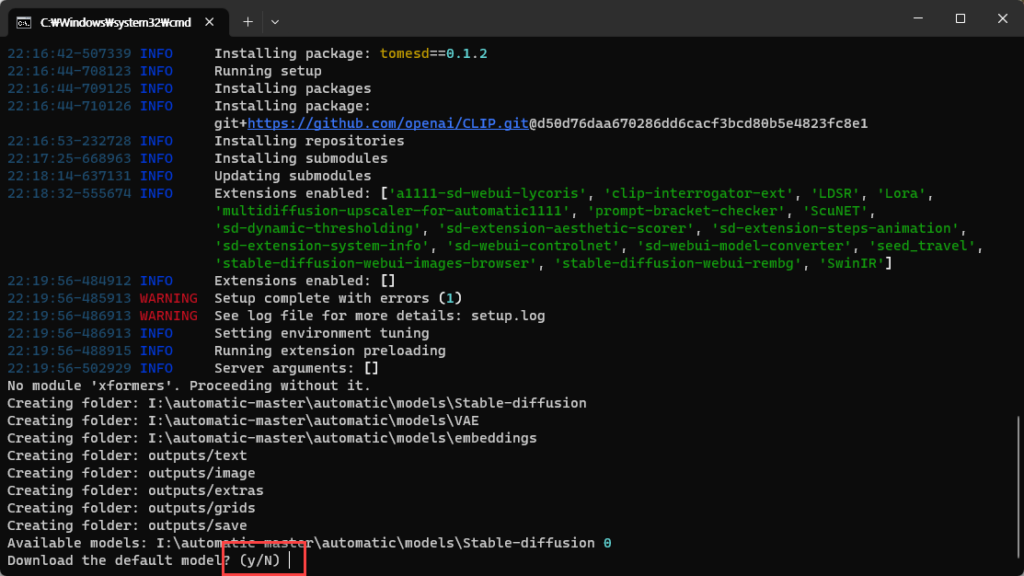
모델 설치하라는 문구가 나오는데,
기존에 사용하는 모델이 있으면 N을 입력합니다.
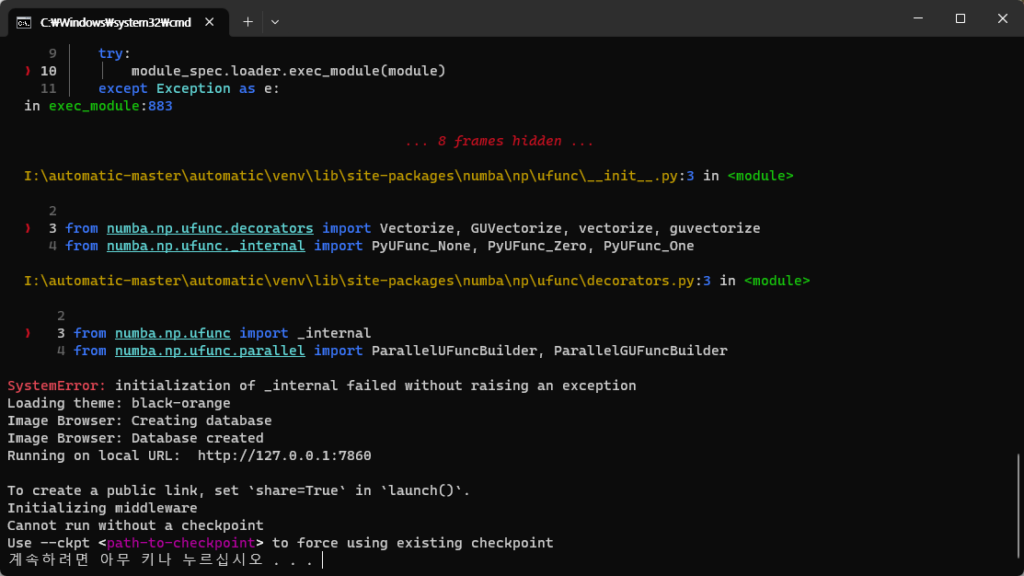
설치 진행 시 모델이 없으면 오류가 발생합니다.
모델을 폴더에 넣어줍니다.
파일 경로는 webui와 동일합니다.
경로 : automatic\models\Stable-diffusion
· 설치 완료
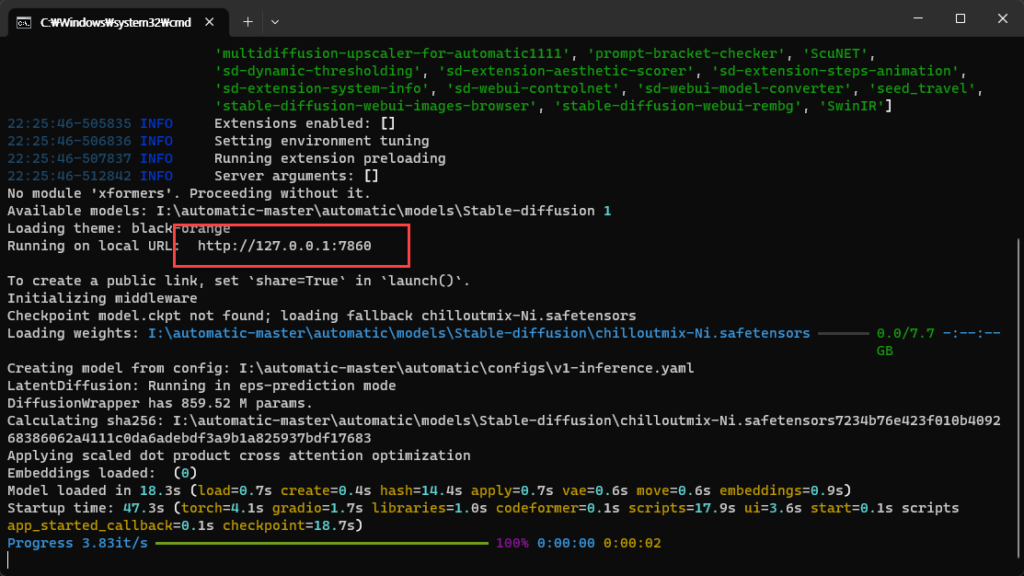
다시 배치 파일을 실행하면 정상작동하게 됩니다.
모델도 이상 없이 인식하는 모습을 확인하실 수 있습니다.
가장 많이 사용되는 칠아웃믹스 모델을 불러왔습니다.

정상적으로 실행된 것을 확인할 수 있습니다.
webui와의 속도 비교를 해보겠습니다.
설정은 아래와 같습니다.
[프롬프트]
1girl, city, night
[부정 프롬]
lowres, bad anatomy, bad hands, text, error,
missing fingers, extra digit, fewer digits, cropped,
worst quality, low quality, normal quality, jpeg artifacts,
signature, watermark, username, blurry, artist name,nsfw
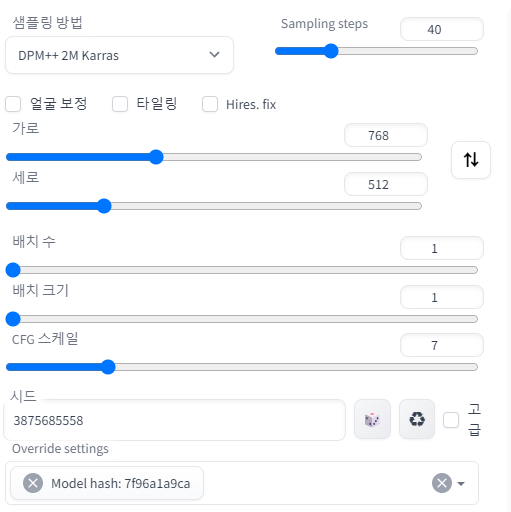
테스트 속도입니다.

오토매틱 automatic 버전의 경우,
최적화 작업을 따로 할 필요 없이 바로 사용하실 수 있습니다.
'AI창작' 카테고리의 다른 글
| 귀여운 유니콘 캐릭터 AI로 만들기 애니메이션 (0) | 2023.08.03 |
|---|---|
| AI로 만든 잡지 스타일 컨셉 디자인 제작 (0) | 2023.08.03 |
| 골프 실사 모델 Stable Diffusion AI 룩북 (0) | 2023.08.03 |
| 스테이블 디퓨전 최신모델 Stable Diffusion XL 1.0 공개! (0) | 2023.07.28 |
| AI 자동 자막 WHISPER 설치부터 사용까지 WEBUI (0) | 2023.07.28 |
| WEBUI로 만든 AI 실사 그림... 조만간 영화까지!? (0) | 2023.06.26 |